Logo
Games
Lantern
Beastro Boss Guide - How to Beat Every Boss - Beastro

Beastro Boss Strategies

How to beat every Beastro boss: Furrog, Cranbear, the Clobboarer, Maracalotl, Terroreyezor and Pokosh, with their decks, mechanics and the meal to cook for each.

Before any boss fight in Beastro

Your meal is your deck. Every ingredient you cook onto the grid becomes cards in the Caretaker's deck, and the balance of flavours in that dish sets how much stamina they carry into the fight. A boss in Beastro is beaten in the kitchen as much as in the fight.

How a trick is won. The monster plays a card with a flavour and a value. You answer it in one of two ways:

  • Match its flavour and beat its value outright.
  • Balance it by playing the opposing flavour, which cuts the monster's power roughly in half before the values are compared. A balanced 14 stops being a wall.

Once you have played your card you may add an enhancer: a card of the flavour that partners whatever you just played. It adds to your total and can carry effects of its own, like bonus attack, a shield or a heal on a winning trick.

The pairs that matter. Every flavour has exactly one enhance partner and one balance partner:

Enhance pairs Balance pairs
Umami and Sour Umami and Bitter
Bitter and Salty Sour and Spicy
Sweet and Spicy Sweet and Salty

Read it as: against an Umami monster, play Umami and enhance with Sour, or play Bitter to halve it and enhance that with Salty.

Cover flavours, do not specialise. A deck built almost entirely from one flavour looks strong and plays badly, because cards that can neither match nor balance what the monster shows are dead in your hand. Lean on your Caretaker's flavour and its enhancer, carry a second pair for the flavours that pair cannot answer, and keep a few of the rest.

Every discard costs stamina. Cycling a hand you cannot play is the usual reason a boss fight runs out of stamina rather than damage. That is another argument for coverage, and a reason to pack cards with healing effects.

Better ingredients mean bigger numbers. Card values come from the ingredients you cook, so upgrading and gathering fresher ingredients raises your whole deck. A Caretaker you have built more friendship with also brings higher numbers, so send the one you know best rather than the one whose flavour looks tidy.

Save Perfect Seasoning. Cooking accurately earns Perfect Seasoning, which can swing a trick you would otherwise lose. Hold it for the card that actually decides the fight.

Pack fight bites. The ones that matter most against bosses:

Fight Bite What it does Made from
Begone Bar Dispels all negative effects on the cards in your hand Disorienteater Antennae
Cure All Cures all negative status effects on the Caretaker Zebraiser
No Touching Immunity to negative or damaging monster effects Conedor Tomahawk
Shatter Shield +10 shield for one round Terranami Cheek
Redo Makes the active monsters play a new card Foam Fish
Mega Attack Snack +7 base attack for one turn Flamato and Flamadon Tentacles
Super / Mega Health Bar +6 / +9 stamina Mixed Veggies, plus Spinewt Greens
Free Fill / Fresh Start The next Fill Hand or Discard costs no stamina Fulgrowler Meat / Great Snareon Mussels
Critical Craving A boost to critical hit chance for 3 turns Fenpire Fang

How to beat Furrog: the Marshlands in Beastro

Flavour Umami
Stamina / Attack 60 / 6
Deck 7 cards, all Umami: 4, 4, 5, 6, 6, 9, 9
Card effects None

What happens: Furrog is the first real test. Its deck is plain, with no card effects at all, but it is entirely Umami, and the two 9s are more than an early deck beats honestly.

As it loses stamina it pulls back and sends out its two tongues, a front and a back. Each has 16 stamina and 2 attack, and they share a small deck of Umami 5, 5, 6 plus a Sour 6 that has a 50% chance to poison you when it wins a trick.

Plan

  • Answer Umami two ways. Match with your own Umami and enhance with Sour, or play Bitter to balance and enhance it with Salty. Bitter is what turns those 9s into something a 5 can beat, so bring some even if your Caretaker is Umami.
  • No effects means no surprises. This is a pure value race, and the only thing that can go wrong is holding cards you cannot play.
  • The tongues bring the one effect in the fight. Their Sour 6 poisons on a win, so answer Sour by matching it with Sour enhanced by Umami, or balancing with Spicy if you have it. Carry Cure All in case the poison lands.
  • Pack stamina. The tongue phases drag the fight out, so bring a Health Bar.

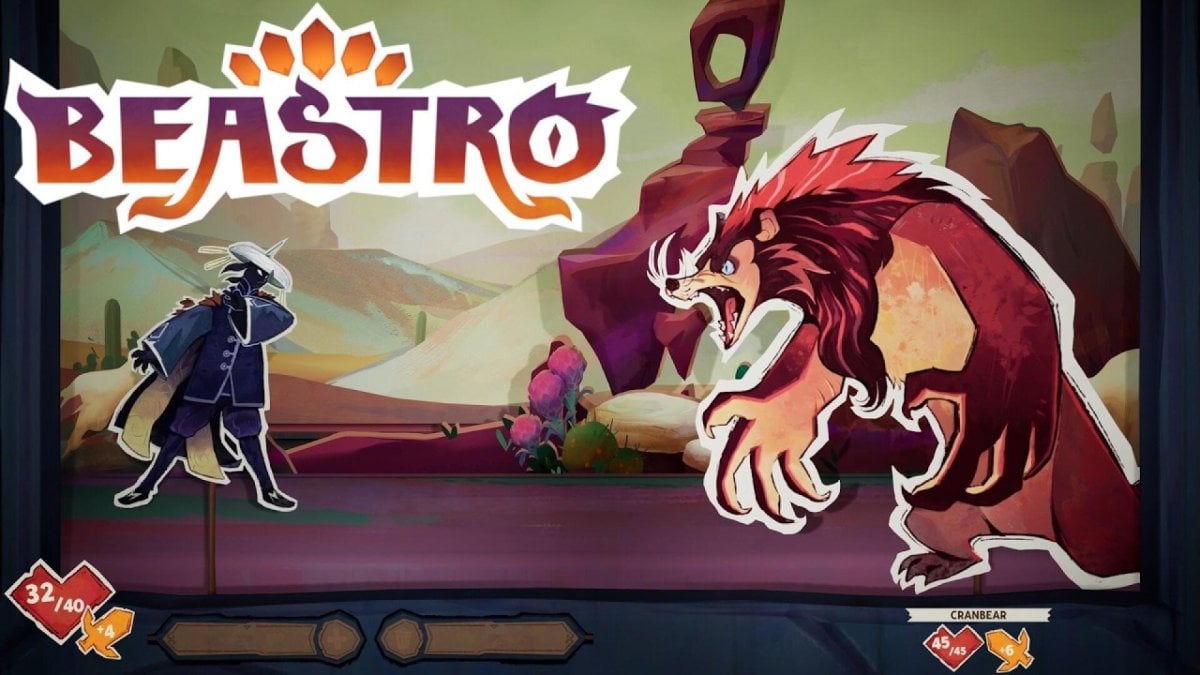
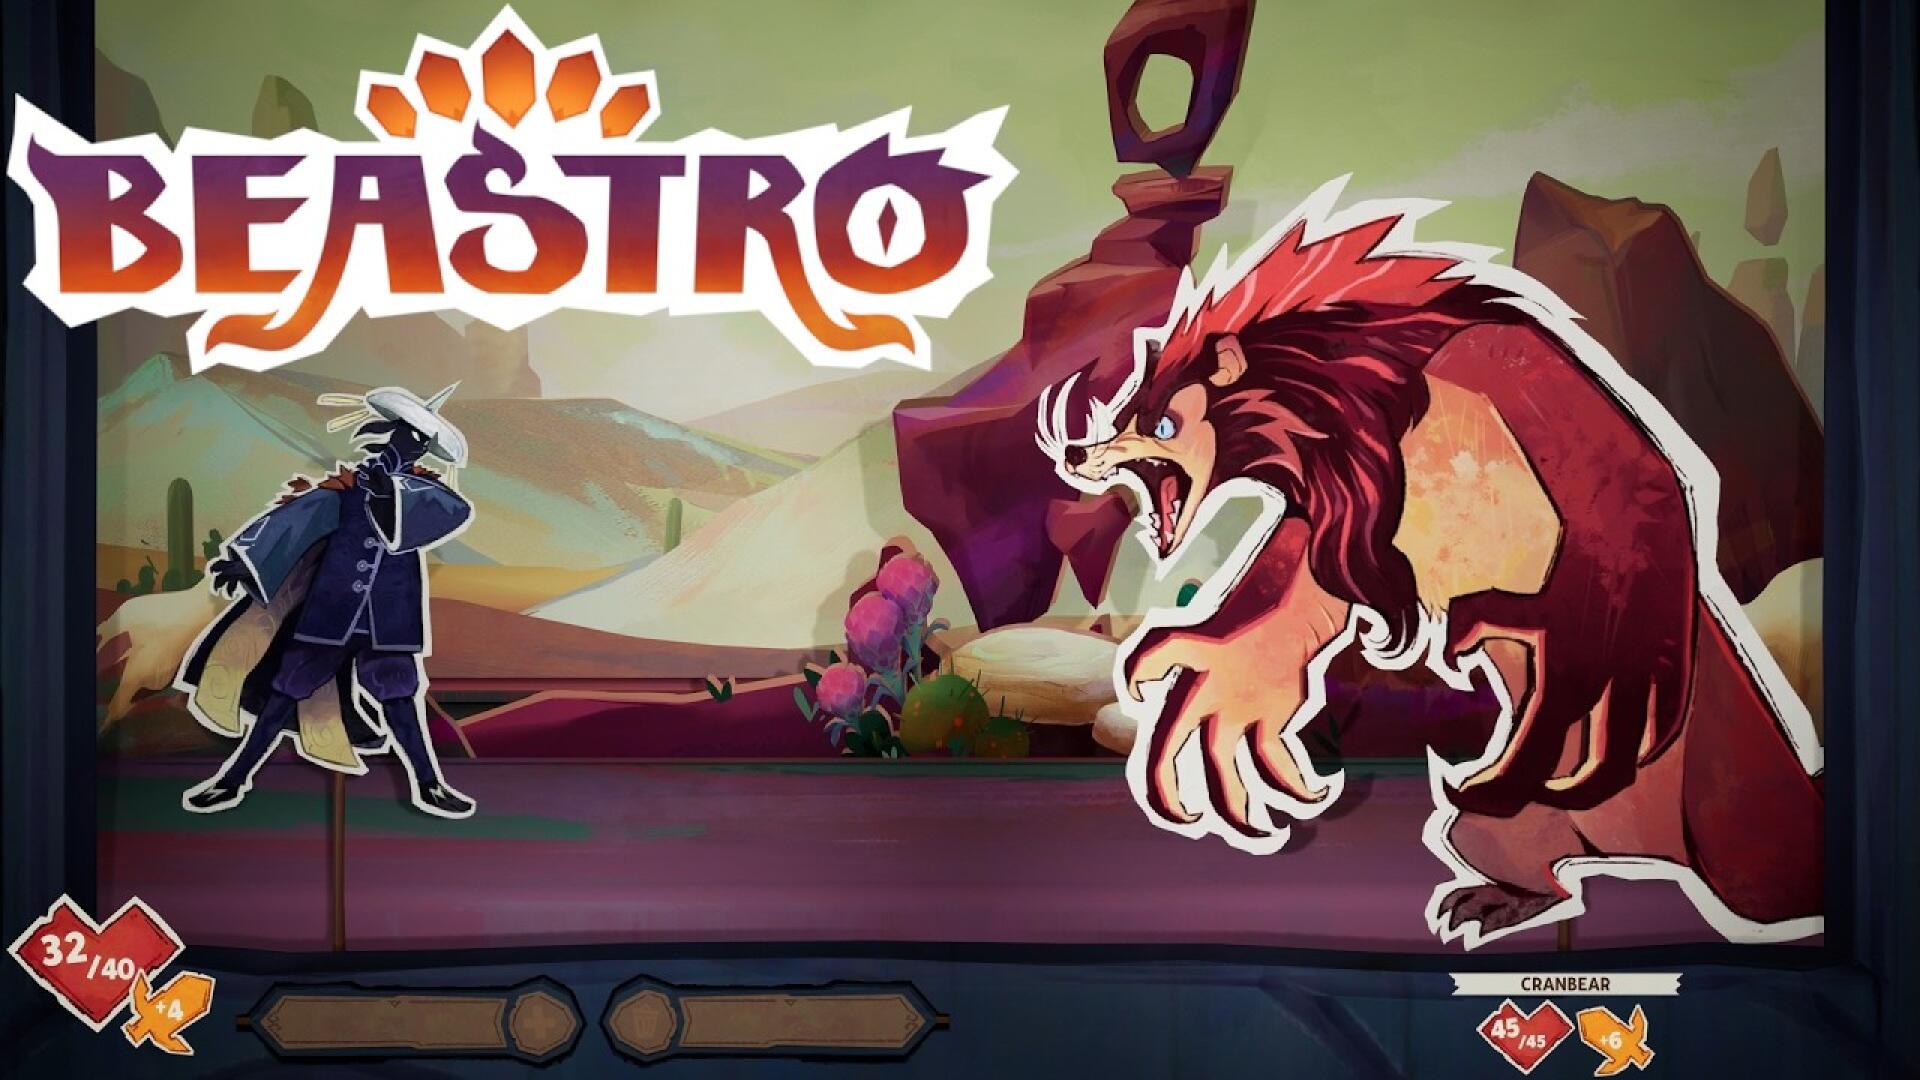
How to beat Cranbear in Beastro

Flavour Sweet, with two Sour cards
Stamina / Attack 45 / 6
Deck Sweet 12, 12, 10, 10, 8 and Sour 8, 6
Card effects A Sweet 12 and a Sweet 10 eat a Sweet card from your hand and heal the Cranbear for that card's value

What happens: The feast cards are the whole fight. Every Sweet card sitting in your hand is a potential heal for the bear, sized by that card's value.

Plan

  • Balance its Sweet with Salty, enhanced by Bitter. That halves the 12s and 10s and, more importantly, means you are not holding a hand full of Sweet cards for it to eat.
  • If you do run Sweet, play your big Sweet cards early rather than saving them. A held Sweet 12 is a 12-point heal waiting to happen.
  • Kill the feast cards first. Beating the Sweet 12 and the Sweet 10 is what stops the healing loop; its 8 is harmless by comparison.
  • Do not forget the Sour 8 and 6. Match them with Sour enhanced by Umami, or balance with Spicy.
  • At 45 stamina it is not tanky. Steady damage wins as long as it cannot heal back.

How to beat Clobboarer: Mogave Desert in Beastro

Flavour Sweet
Stamina / Attack / Evasion 70 / 12 / 10
Deck 5 cards, all Sweet: 14, 12, 10, 8, 6
Card effects The 12, 10 and 6 carry Clobber: on a trick win, every card in your hand loses 1 value
Extra A Rock Shield with 15 stamina and no attack fights alongside it

What happens: Clobber shrinks your whole hand a point at a time. Lose three or four of those tricks and the deck you cooked is quietly a tier worse, which is what makes a 12-attack boss with 10 evasion dangerous.

Plan

  • Salty balances Sweet. Play Salty against it, enhanced by Bitter. A halved 14 is beatable; an unanswered one is not.
  • Spend your answers on the Clobber cards. The 12, 10 and 6 shrink your hand; the 14 and 8 only cost you the trick. If you can only win some tricks, win those three.
  • Undo the shrinking. Begone Bar dispels negative effects on the cards in your hand. Discarding also refreshes a shrunken hand, and Fresh Start makes that discard free.
  • Expect misses. 10 evasion means some of your hits simply do not land, so plan for a longer fight than its 70 stamina suggests.
  • It hits for 12. Keep Shatter Shield and a Health Bar in reserve, especially while the Rock Shield is soaking your damage.

How to beat Maracalotl: Mogave Desert in Beastro

Flavour Salty, with two Umami cards
Stamina / Attack 60 / 6
Deck Salty 14, 12, 10, 8 and Umami 10, 8
Card effects Salty 14 and Salty 10 carry Watery Eyes: on a trick win, the numbers on the cards in your hand are blurred

What happens: Watery Eyes does not change your cards, it hides them. You keep playing the same deck, you just cannot read it.

Plan

  • Answer Salty with Sweet to balance, enhanced by Spicy, or match Salty and enhance with Bitter. Halving that 14 matters most.
  • Beat the 14 and the 10 to keep your hand readable. Losing to its 12 or 8 costs a trick and nothing more.
  • Play a deck you can play blind. Fewer, clearly different values are easier to handle once the numbers blur, and knowing roughly what you cooked beats squinting.
  • Keep an answer for Umami. Its two Umami cards need Umami enhanced by Sour, or Bitter to balance.
  • It only hits for 6. With its effects handled this is a comfortable endurance fight.

How to beat Terroreyezor: after the Crystalline Coast camp in Beastro

Flavour Sour, with two Salty cards
Stamina / Attack 80 / 12
Deck Sour 14, 12, 12, 10, 10, 8 and Salty 10, 8
Card effects Darkness on the Sour 14 blacks out your hand for 2 turns; Dizzy and Silence on the two Sour 12s make the Caretaker dizzy and mute every card in your hand; Disappear on the Sour 10 and 8 lets it dodge all damage when it loses the trick

What happens: This is the nastiest effect suite in the game. Darkness and Silence attack your hand, Dizzy attacks the Caretaker, and Disappear means two of its cards deny you damage even when you win the trick.

Plan

  • Spicy balances Sour, enhanced by Sweet. With six Sour cards in its deck, that pairing answers most of the fight; matching Sour enhanced by Umami works when your numbers are high enough.
  • Prioritise by what the card does to you. The 14 (Darkness) and the two 12s (Dizzy, Silence) are the ones worth spending a good card on. The 10 and 8 only rob you of damage.
  • Do not count on the Disappear tricks. Winning them denies the monster, not you, so plan your damage around the other six cards.
  • Cleanse rather than play through it. Begone Bar clears muted and blacked-out cards, Cure All clears Dizzy on the Caretaker, and No Touching blocks the effects outright for a stretch.
  • 80 stamina at 12 attack is a long fight, so bring healing and shields, not just damage.

How to beat Pokosh: the final boss in Beastro

Stage 1

Stamina / Attack / Evasion / Crit 60 / 10 / 10 / 10%
Deck Spicy 16, 12, 10, 8, 6
Card effects The Spicy 16 and 12 carry Fireball: on a trick win, every card in your hand is Burned

Stage 2

Stamina / Attack / Evasion / Crit 80 / 10 / 10 / 10%
Deck Spicy 16, 14, 12, 10, 6
Card effects The Spicy 16 carries Fireball

Pokosh also calls in reinforcements as she loses stamina, and they cover flavours other than her own. Beating Pokosh clears whatever she has summoned.

Plan

  • Sour balances Spicy, enhanced by Umami. That is the answer to a deck of 16s and 14s, and it is the pairing to build around if your numbers are not enormous.
  • Matching works too: Spicy played against Spicy, enhanced by Sweet. Use it when you have high Spicy cards; otherwise balancing is the safer route.
  • Fight for the Fireball cards. The 16 in both stages and the 12 in stage 1 burn your whole hand when they win. Redo forces her to play something else, and Begone Bar cleans up afterwards.
  • Keep a third flavour for the summons. Her reinforcements are not Spicy, and a deck that can only answer Spicy will stall out against them.
  • Deal with the boss, not the adds, unless one is genuinely hurting you, because killing Pokosh removes them all.
  • Expect misses and spikes. 10 evasion and 10% crit in both stages means the fight swings. Hold Mega Attack Snack, Critical Craving and Perfect Seasoning for the moment her stamina is low enough to finish.

Beating bosses in Beastro

A Beastro boss fight is decided at the stove. The meal you cook becomes the deck the Caretaker plays, so a boss is beaten by cooking for it rather than by reacting to it once the fight has started.

Each Beastro boss below lists what it brings: its stamina, the exact cards in its deck and the mechanic that makes it dangerous, followed by a plan with which hunter to send, which flavours to build around, and which fight bites to pack.

The Cranbear boss fight in Beastro

The Beastro bosses in order

Furrog waits in the Marshlands, the Cranbear follows, and the Mogave Desert holds both the Clobboarer and the Maracalotl. Terroreyezor comes after the Crystalline Coast camp, and Pokosh is the final boss of Beastro, fought across two stages.

Frequently Asked Questions

How many bosses are in Beastro?

Six: Furrog, the Cranbear, the Clobboarer, the Maracalotl, Terroreyezor and Pokosh.

Who is the final boss in Beastro?

Pokosh is the final boss. The fight runs over two stages, each with its own deck.

Where is the Clobboarer in Beastro?

The Clobboarer is fought in the Mogave Desert, where the Maracalotl is too. It brings a Rock Shield into the fight alongside it.

How do you prepare for a Beastro boss fight?

Cook for it. Your meal becomes your deck, so pick ingredients whose flavours and card effects answer the boss's deck, and pack fight bites for the turns that go wrong.

What does the Clobboarer drop in Beastro?

The Clobboarer leaves a Clobboarer Shield Chunk, described as the hardest material in all of Solido.